初心者でもできる javaEEの開発(2)
javaEEを勉強しようとした時の、最初のハードルの開発環境構築についてです。
今回は、無料のEEサーバーの「tomEE」を導入して試してみます。
開発環境構築(tomEE <tomcat7> インストール)
以下のサイトから「Web Profile」の「apache-tomee-1.7.2-webprofile.zip」をダウンロードします。
http://tomee.apache.org/downloads.html
ダウンロードした「tomEE」は
「C:\opt\hello_java\apache-tomee-webprofile-1.7.2」へ展開しておきます。
「eclipse」を起動して、サーバーを追加します。
「Window -> Preferences」で「Preferences」画面を開き「Server -> Runtime Environments」を選択して「Search...」ボタンから「Search For Runtime Environments」画面を開きます。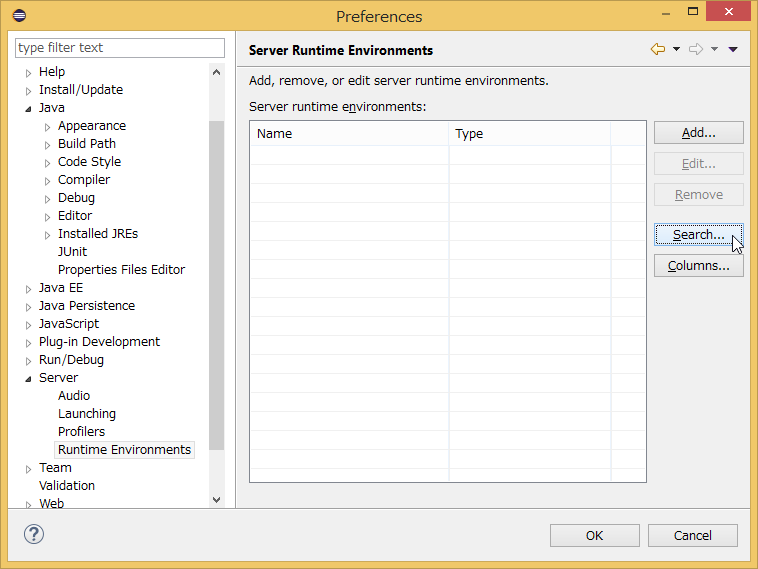
先ほど展開した「apache-tomee-webprofile-1.7.2」の場所を選択し、OKボタンで設定します。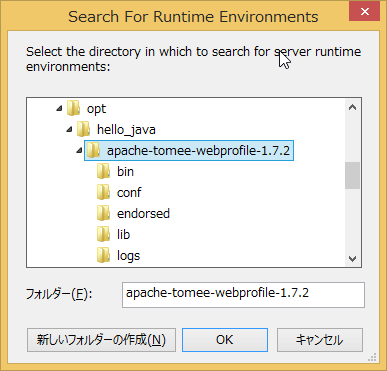
こんな感じで「Search For Runtime Environments」へ追加されればOKです。
次にプロジェクトを作成します。(プロジェクト名は「hello_ee6」にしました。)
「eclipse」の「File -> New -> Project」で画面を開いて「Web -> Dynamic Web Project」を選択。
「Target runtime」へ先ほど設定した「apache-tomee-webprofile-1.7.2」を選択、
「Configuration」の「Modify...」から画面を開きます。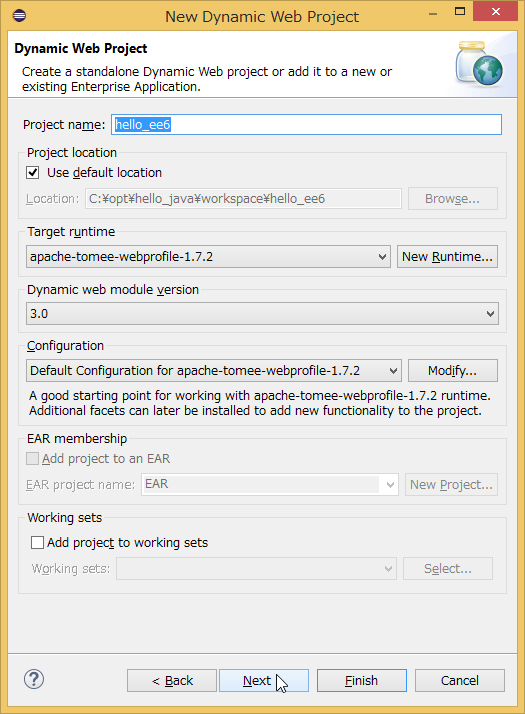
「JavaServer Faces」「JPA」を追加で選択してからOKした後で、「Next」します。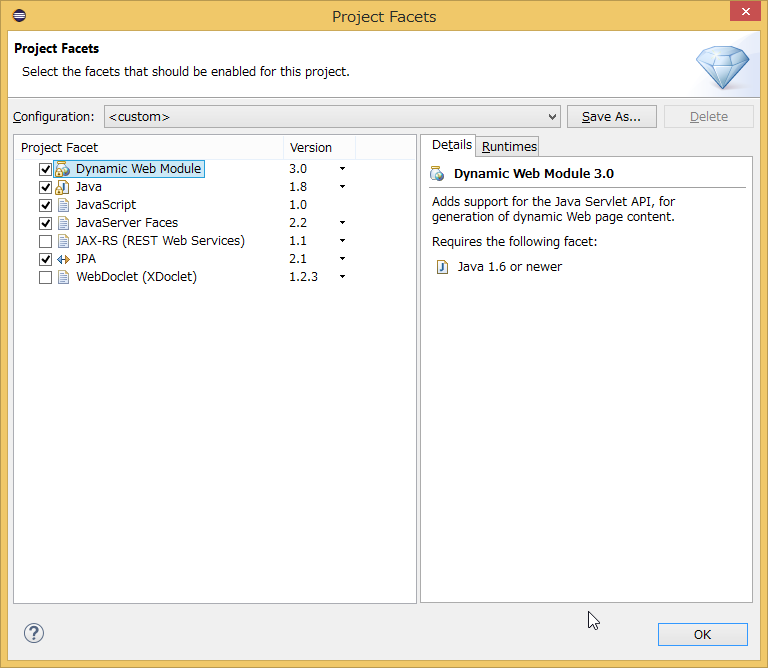
特に変更がないので、そのまま「Next」します。
「JPA Facet」画面の「Platform」で「Eclipse Link」を選択し、「JPA implementation」のDownload。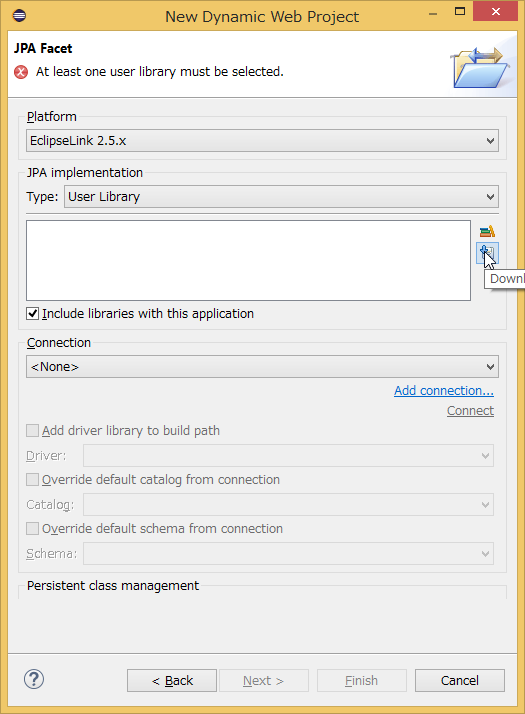
「Download Library」画面で「EclipseLink 2.5.2」を選択して、Nextボタン。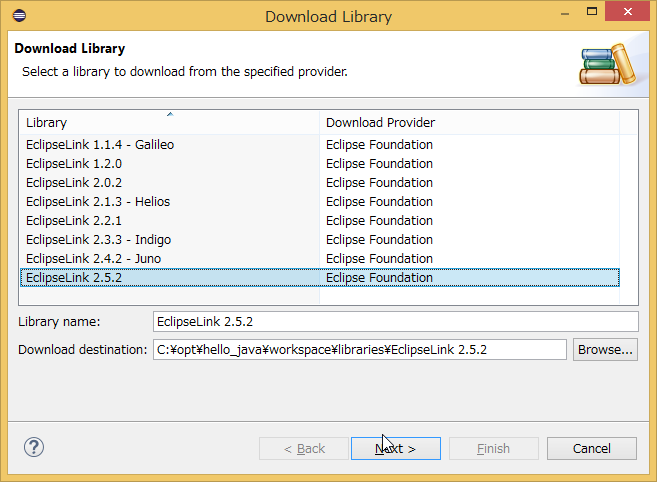
「I accept the thems of this license.」へチェックして、Nextボタン。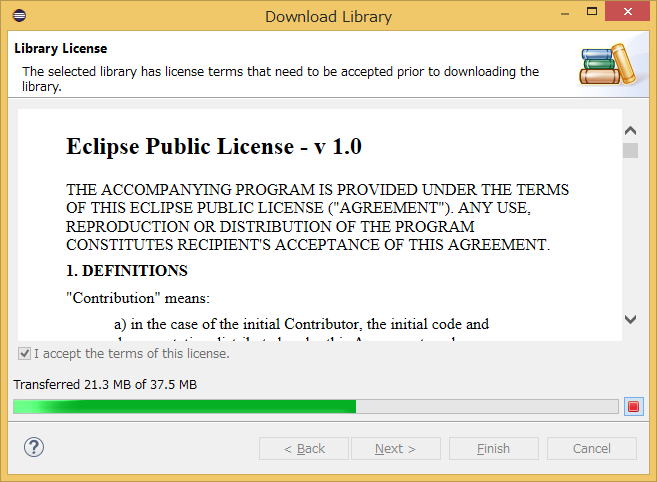
「EclipseLink 2.5.2」へチェックして、Nextボタン。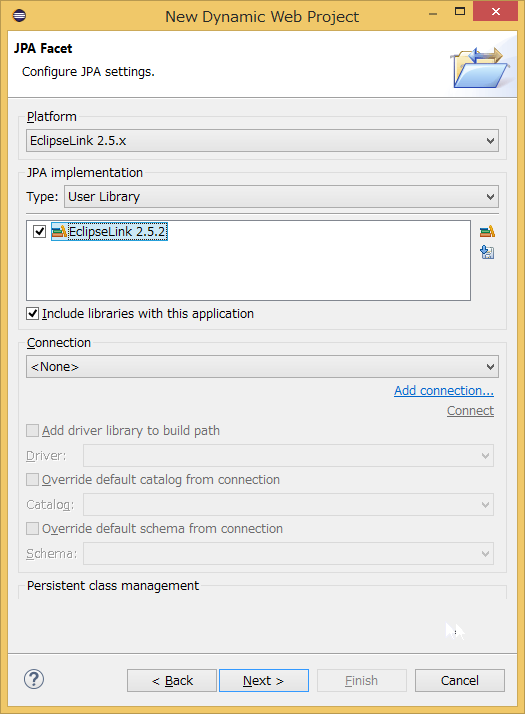
特に変更がないので、そのまま「Next」します。
「JSF Capabilities」画面の「Type」で「User Library」を選択し、「JSF Implementation Library」のDownload。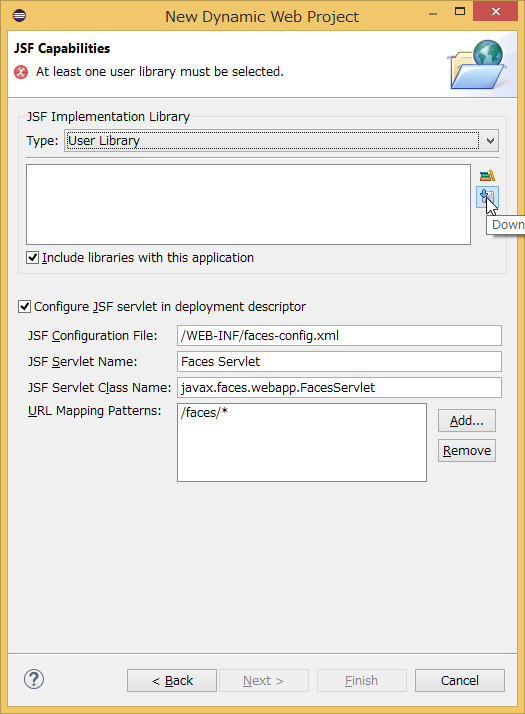
「I accept the thems of this license.」へチェックして、Nextボタン。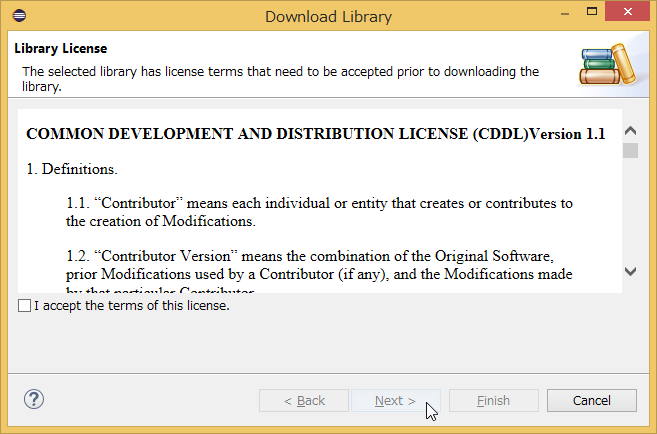
「JSF 2.2 (Mojarra 2.2.0)」へチェックして、Finishボタン。
プロジェクトができたら「WebContent」の直下へ「index.xhtml」を作成します。
<?xml version="1.0" encoding="UTF-8" ?>
<!DOCTYPE html PUBLIC "-//W3C//DTD XHTML 1.0 Transitional//EN" "http://www.w3.org/TR/xhtml1/DTD/xhtml1-transitional.dtd">
<html xmlns="http://www.w3.org/1999/xhtml"
xmlns:h="http://java.sun.com/jsf/html"
xmlns:c="http://java.sun.com/jsp/jstl/core"
xmlns:f="http://java.sun.com/jsf/core">
<h:head>
<meta http-equiv="Content-Type" content="text/html; charset=UTF-8" />
<link rel="stylesheet" charset="UTF-8" href="css/default.css" />
<title>Hello EE6</title>
</h:head>
<h:body>
<h1>Hello EE6</h1>
</h:body>
</html>
次に「WebContent\WEB-INF\web.xml」を開いて「<display-name>hello_ee6</display-name>」のあたりに、下記を追加します。</>
<welcome-file-list>
<welcome-file>index.xhtml</welcome-file>
</welcome-file-list>
では、サーバー起動できるように設定して、実際に起動します。
「eclipse」の「Window -> Show View -> Other...」で「Server -> Servers」を選択し、OKボタンで「Servers View」を開きます。
「Servers View」を開いたら「No servers are available. Click this link to create a new server...」をクリックして設定していきます。
「Select the server type」で「Tomcat v7.0 Server」を選択すると上で設定した「apache-tomee-webprofile-1.7.2」な内容になるので「Next>」画面へ。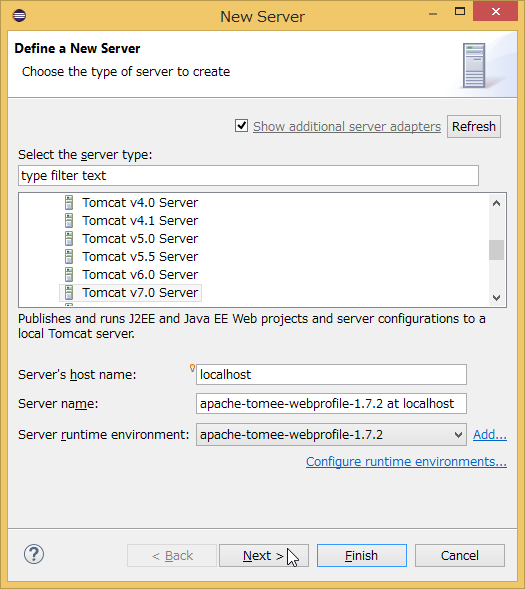
「Available:」内のプロジェクト(hello_ee6)を選択して「Add>」すると「Configured:」へ追加されるのでそのまま「Finish」します。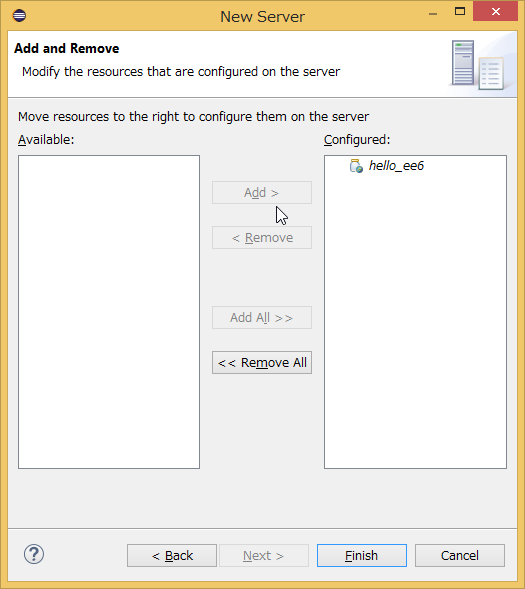
サーバー起動は「Servers View」で「apache-tomee-webprofile-1.7.2 at localhost」を右クリックして「Start」から可能です。
「http://localhost:8080/hello_ee6/」へアクセスできるか確認してみてください。
こんな感じで表示されるとOKです。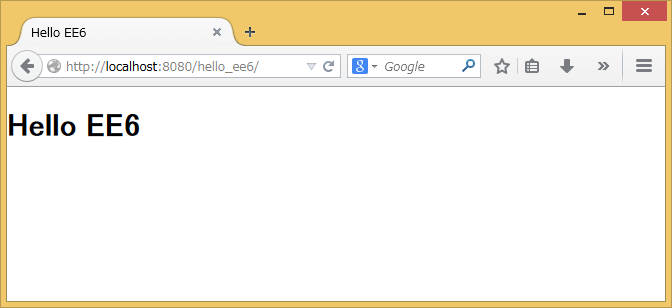
これでtomEEサーバーのインストールが完了しました。次回は無料のEEサーバーの「glassfish4」を導入してみます。